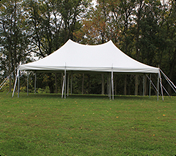
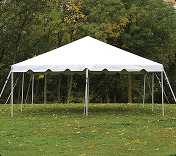
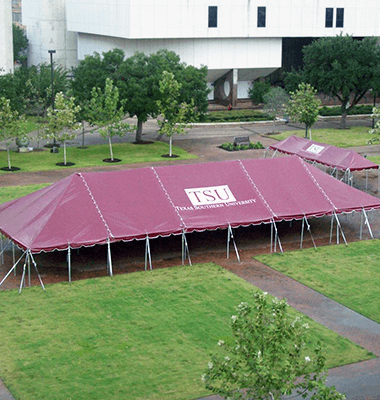
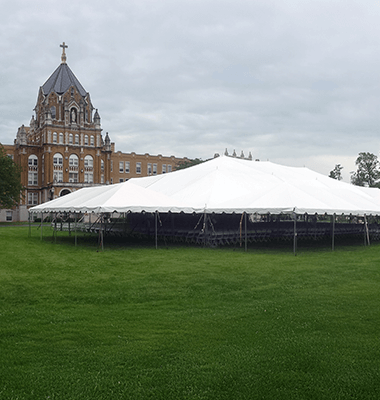
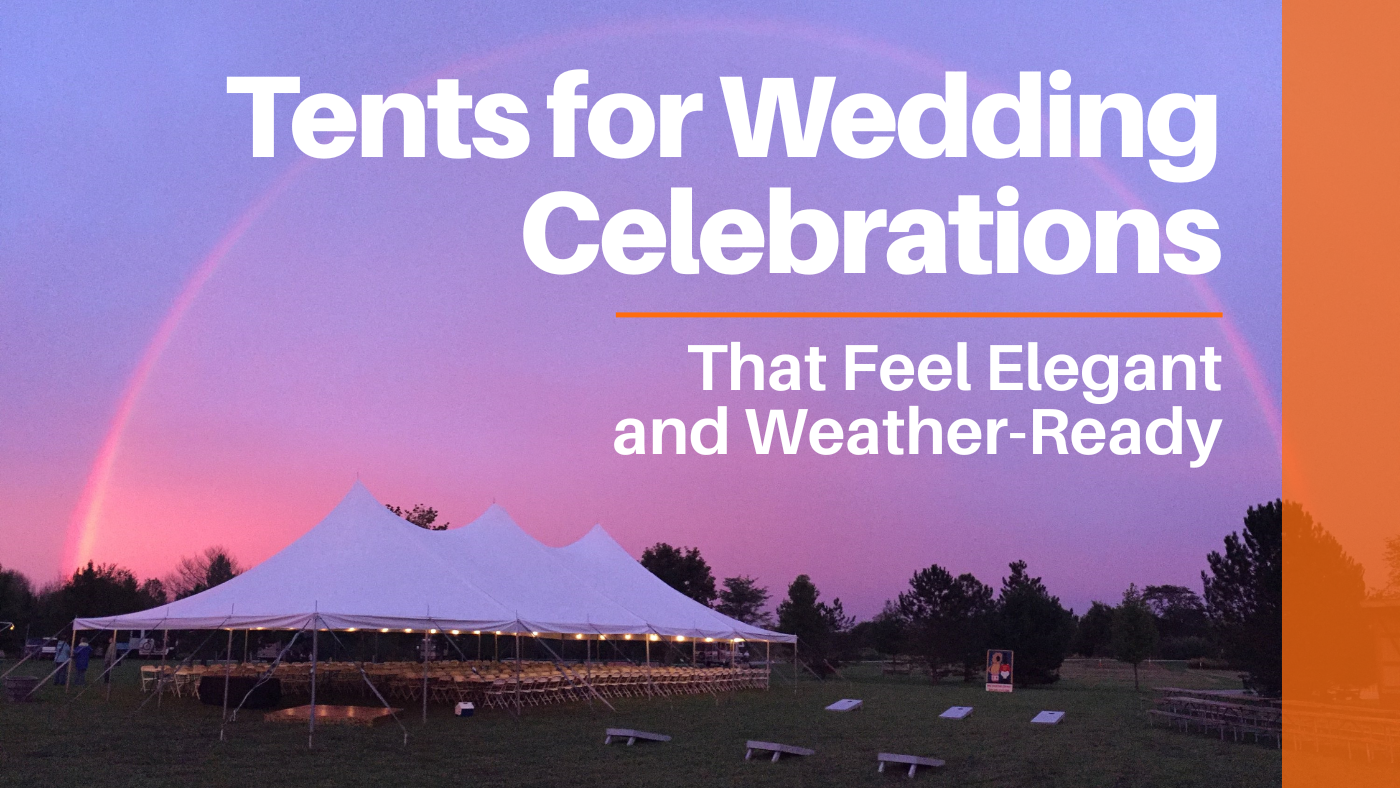
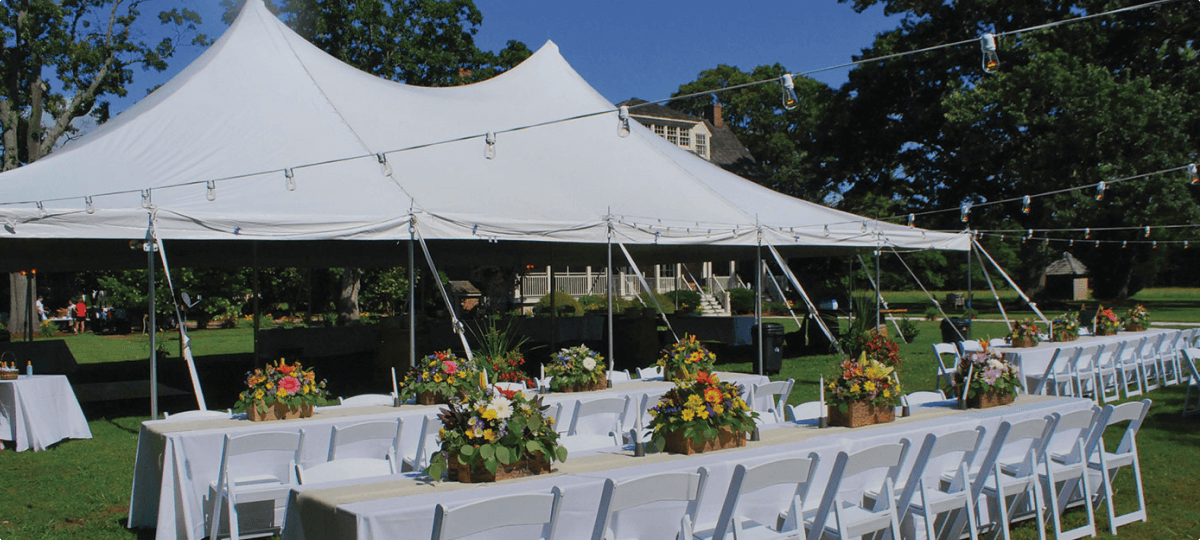
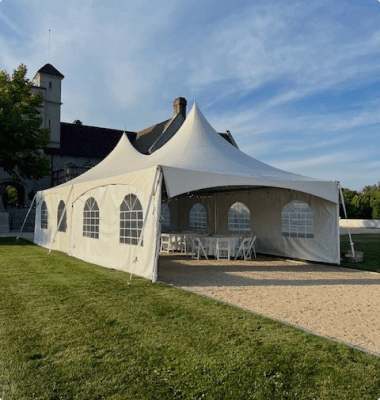
 Pole Tents
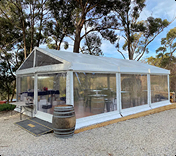
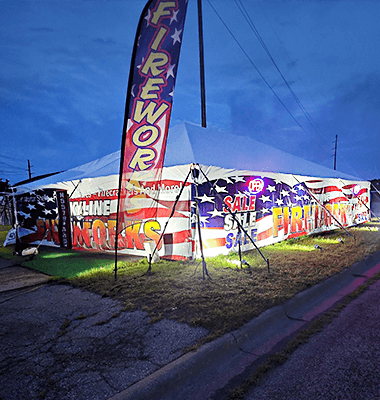
 Frame Tents
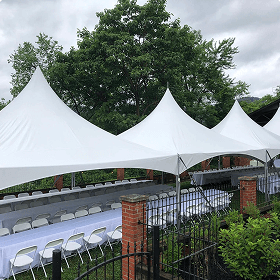
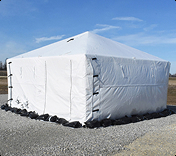
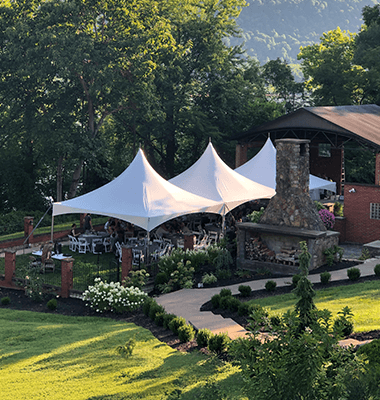
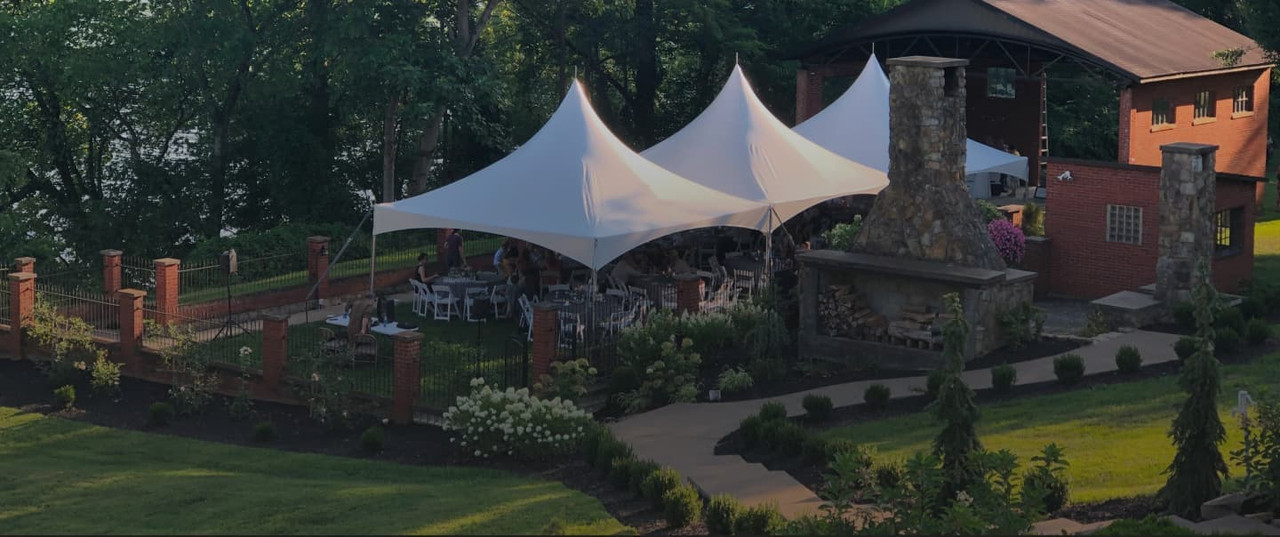
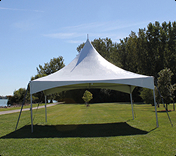 Cross Cable Tents
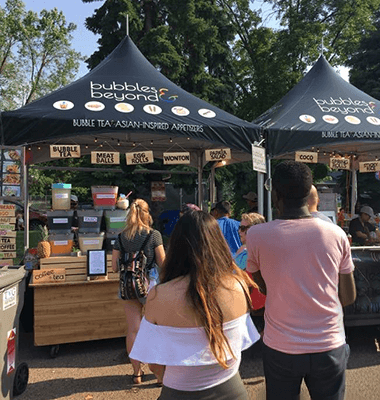
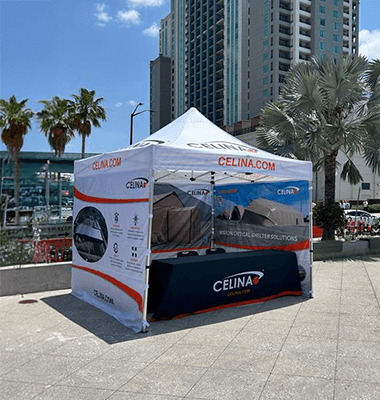
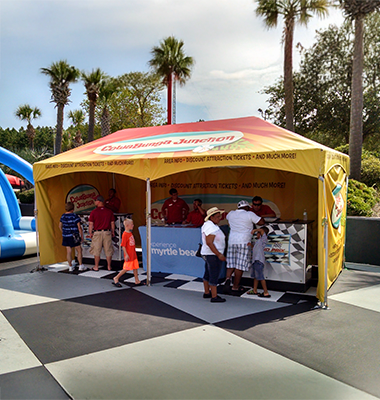
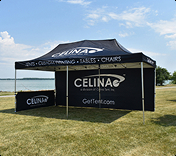 Pop Up Tents
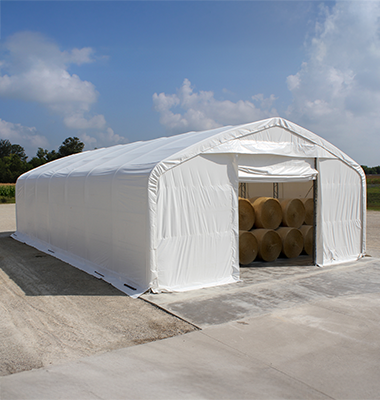
 Structures
 Shelters


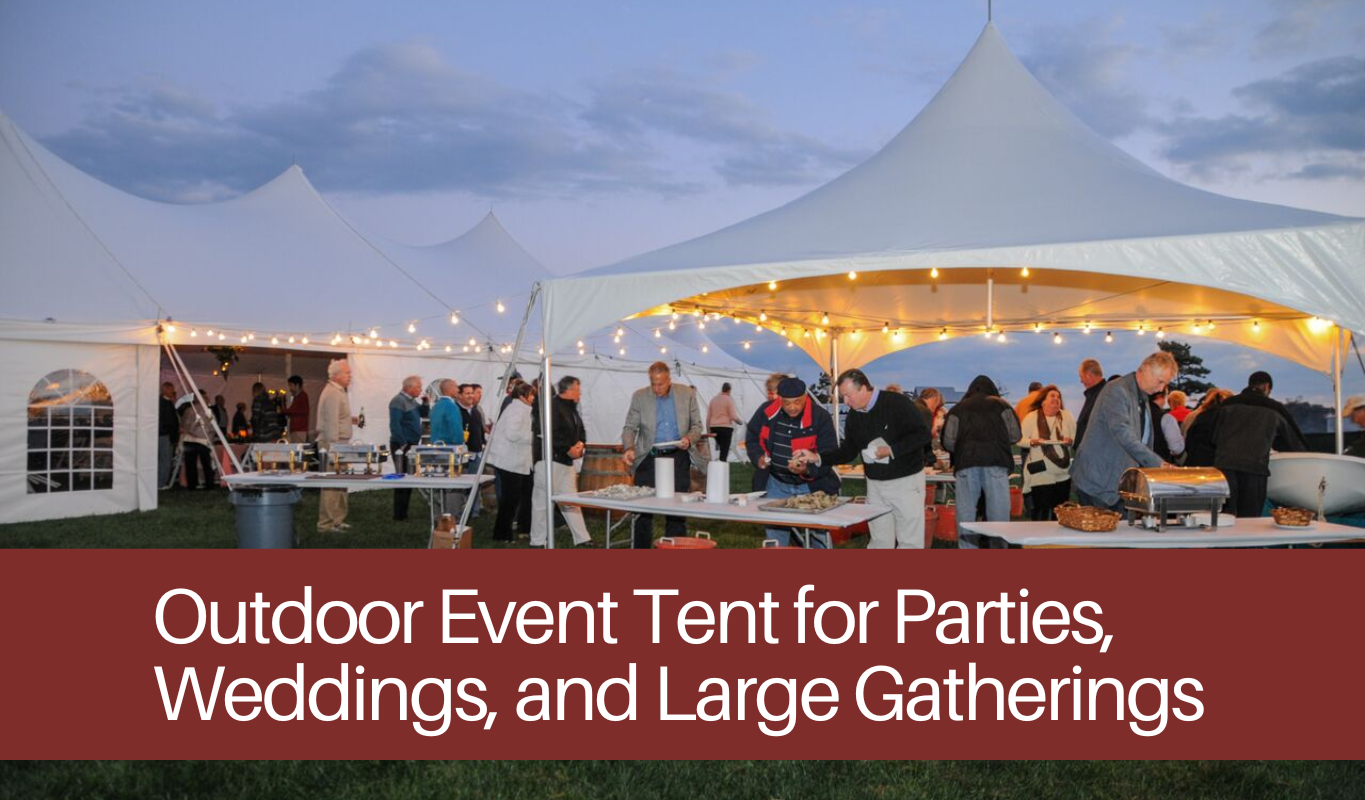
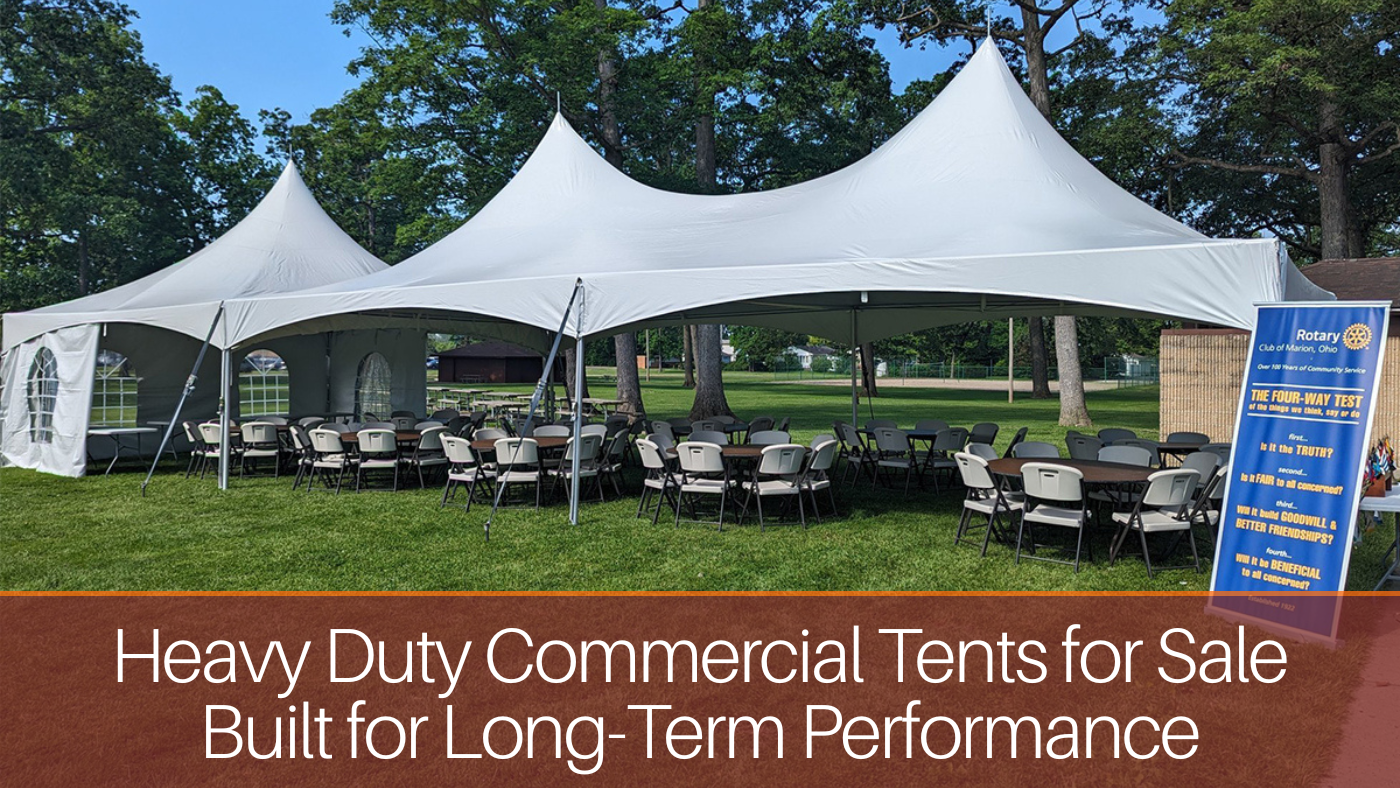
Exceptional Tents for Every Purpose
Combining Style, Strength
and Simplicity in Every Build


Celina Tent


Have Questions? Our Support Team Has the Answers
From orders to product details, we’re here to help — contact us today!
Real people, real service No automated runarounds
need an answer now? We're just a call or email away
simple, straightforward answers To all your ordering questions
Exceptional products. Seamless experience.
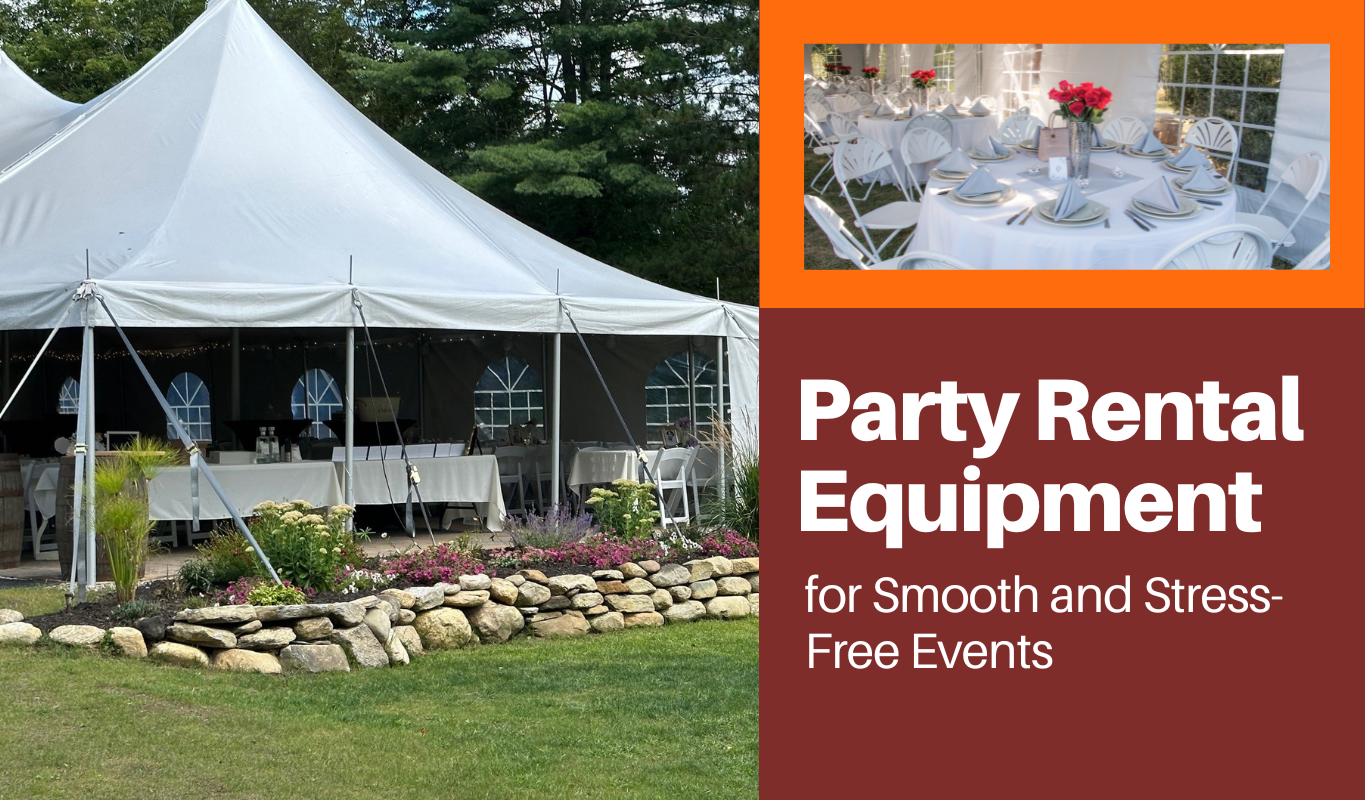
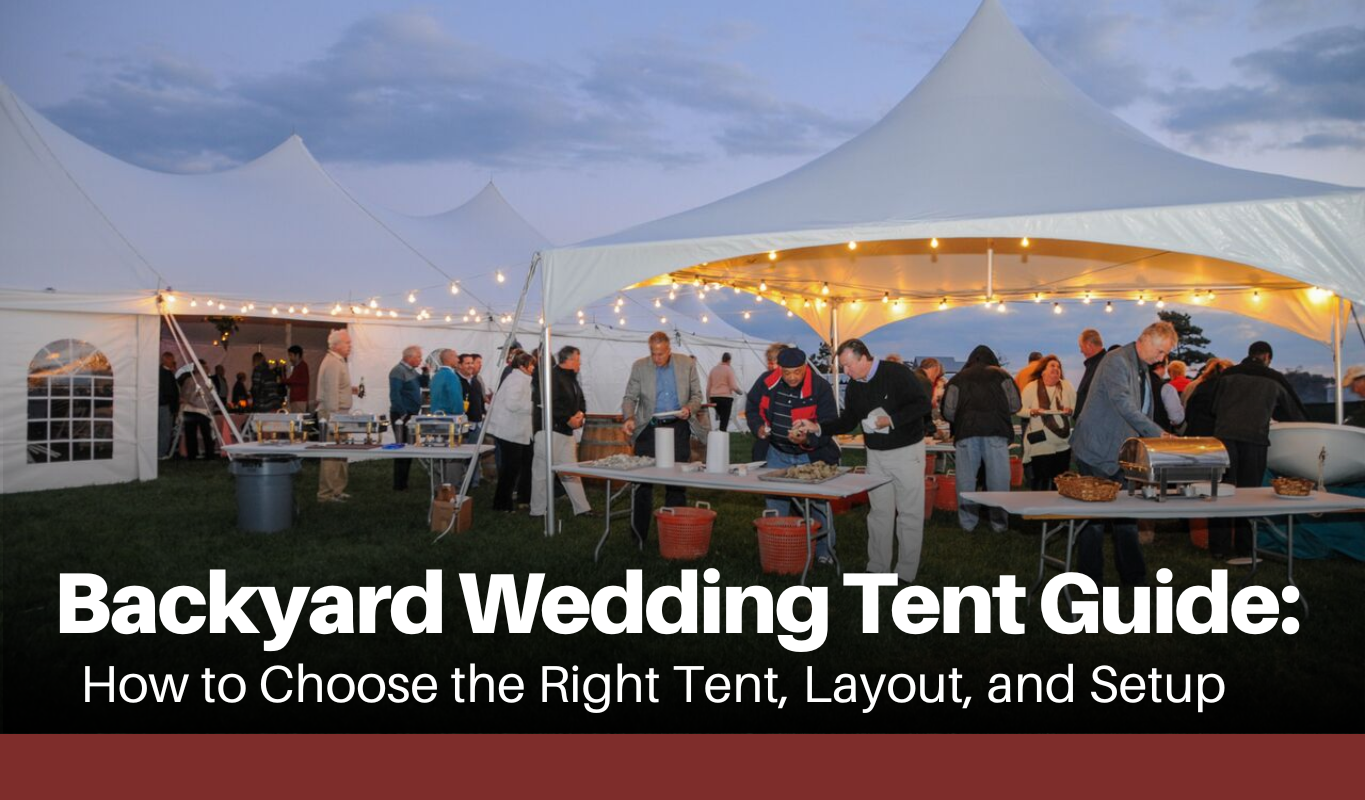
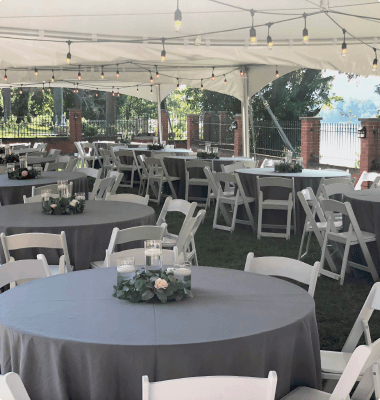
Everything You Need for the Perfect Event
Testimonials
What People Are Saying
“Our experience with you all has been great! The quality of the toppers are fantastic and they look great. They have been a huge upgrade to our previous tops.”
Holden Reinman
“We could not be happier with the products and services from Celina Tent! We are 3 years into our business and they have been great to work with. From support, online product/ordering and meeting shipping requests, Celina Tent has been top notch! They have earned our future business!”
Treg & Whitney Cunningham
“We own an event rental company out in McHenry Illinois we source pretty much all of our tents through this company never had a problem, their customer service is outstanding we love them ”
Thomas Kelly
“We had several folks recommend we buy less expensive tents, but we knew we wanted very durable, very strong tents and did not want to have to replace them after just a season or two. If you are looking for a very high quality tent, heavy material, well sewn corners, durable poles and top notch service, CELINA is the way to go. ”
Toni Moore
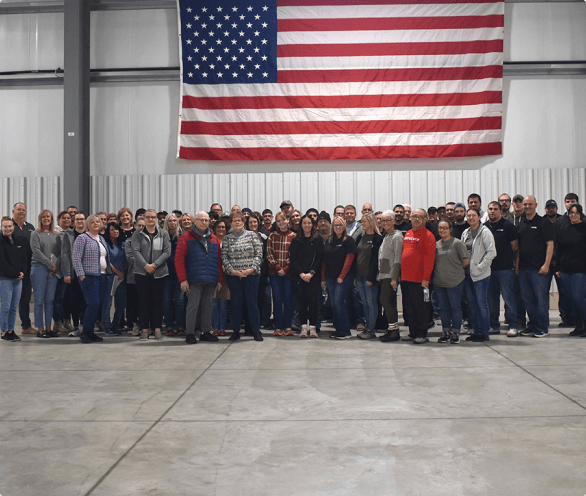
About Us
Our focus on quality and customer service has led CELINA to grow from a small tent rental company to a global leader in the manufacturing and distribution of tents and event equipment.
Associations & Memberships
Recent Press


Product Support
more to explore
News & Resources
Have Questions? Our Support Team Has the Answers
24/7 Support
Day or night, our chat team is just a message away
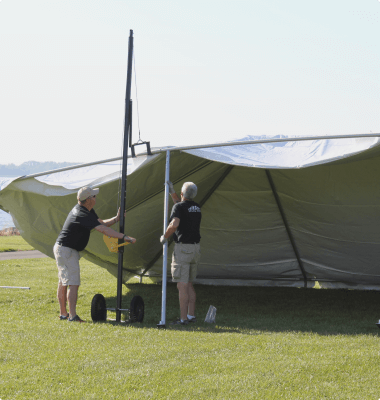
easy installation
Get ready fast with step-by-step instructions
fast shipping
Most orders ready to ship in 1-2 business days.
Extensive Warranty
Extensive warranty available on most products.


 Pinnacle Tents
 Frame Tent Jacks
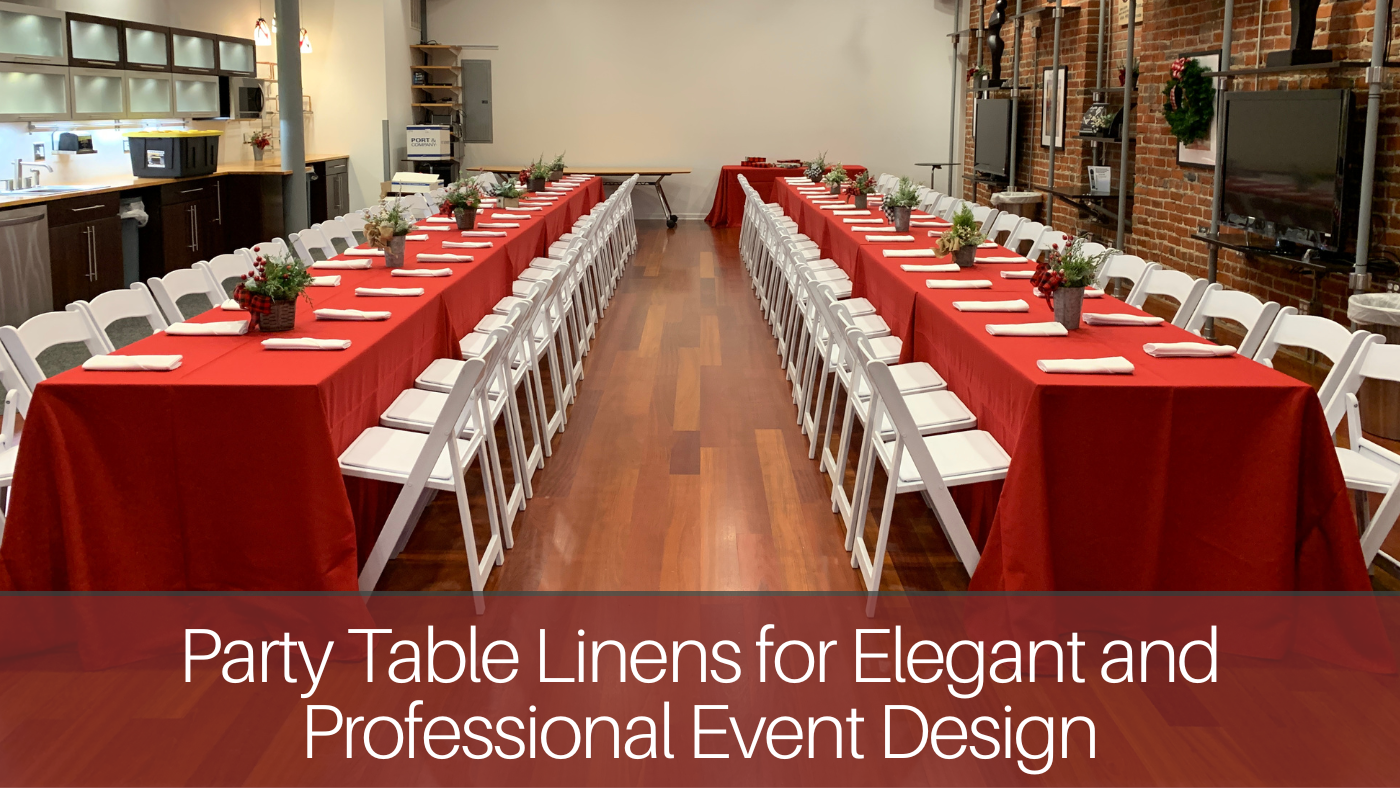
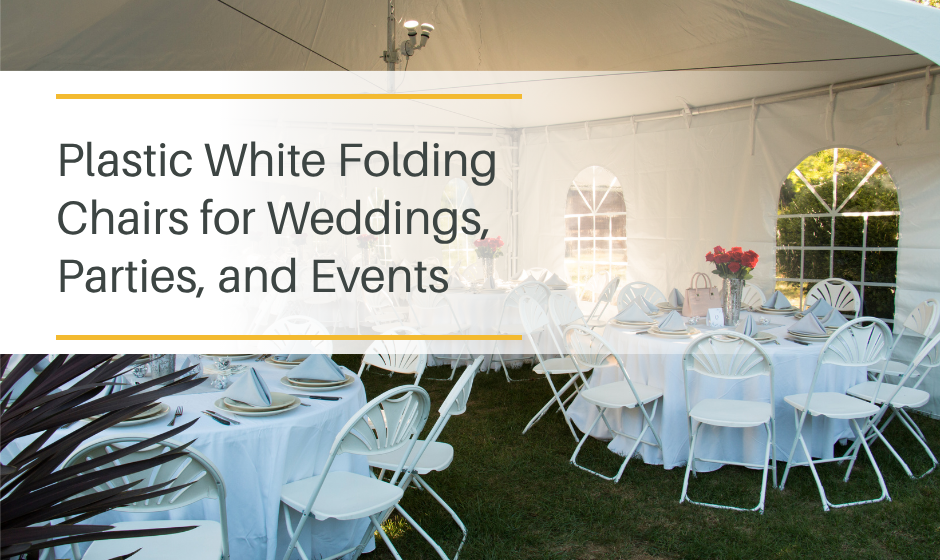
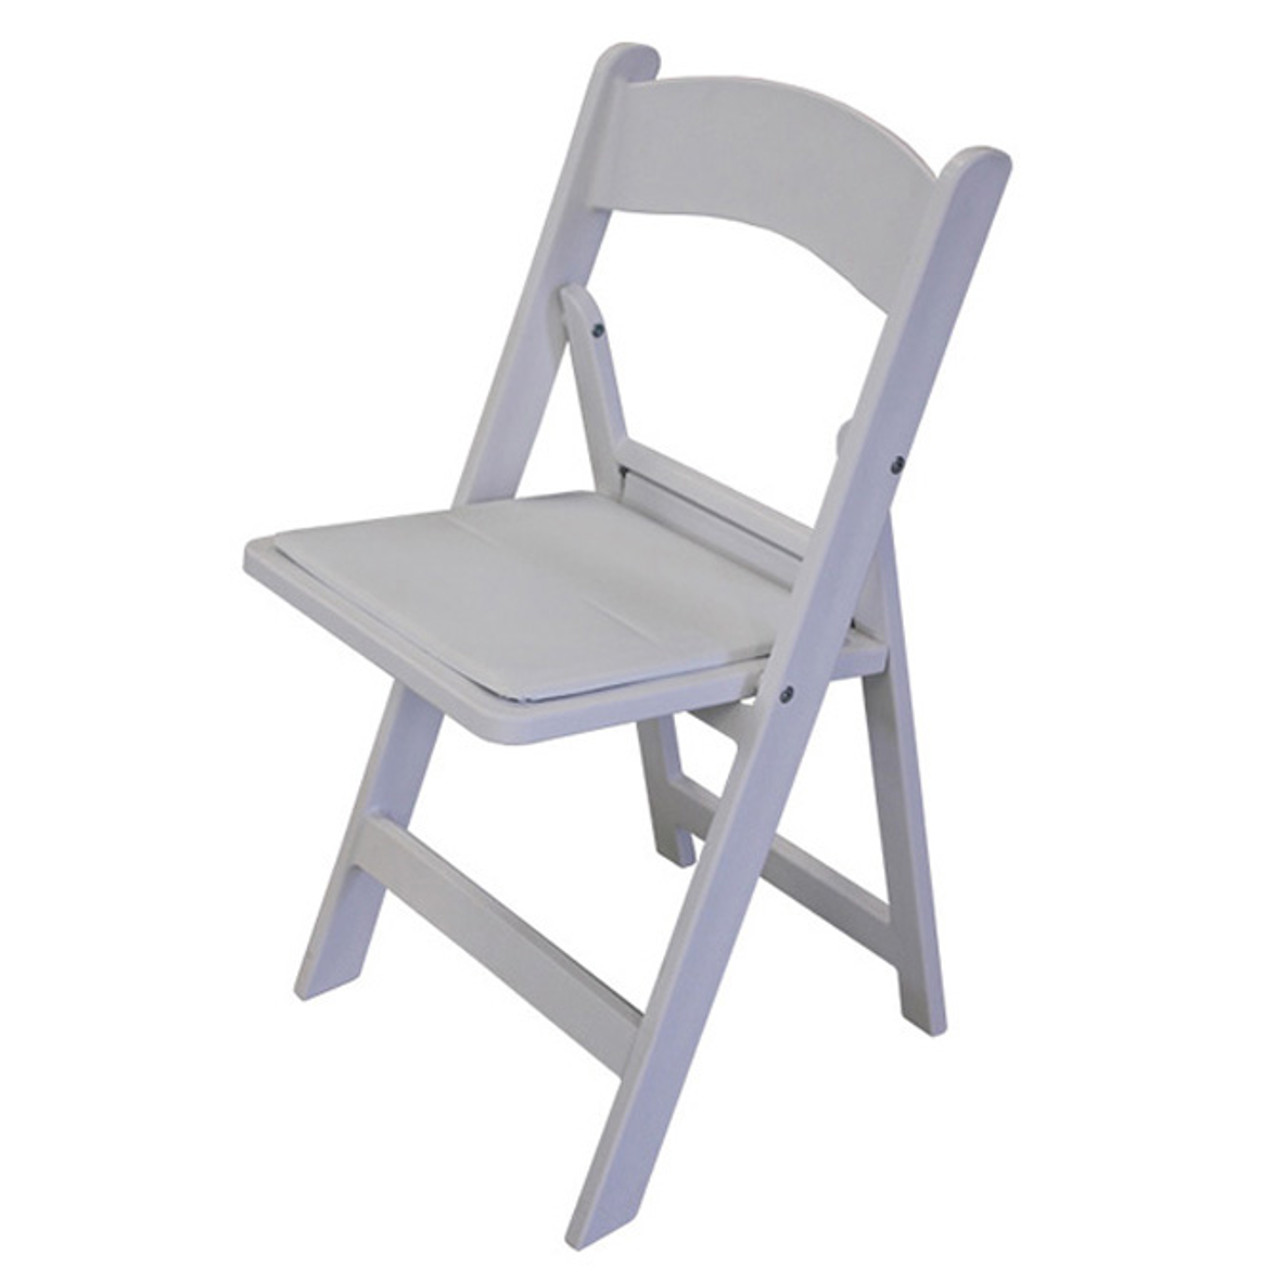
 Tables and Chairs